
How to Create the Instagram Feed Illusion Reel Using AI (Step-by-Step)
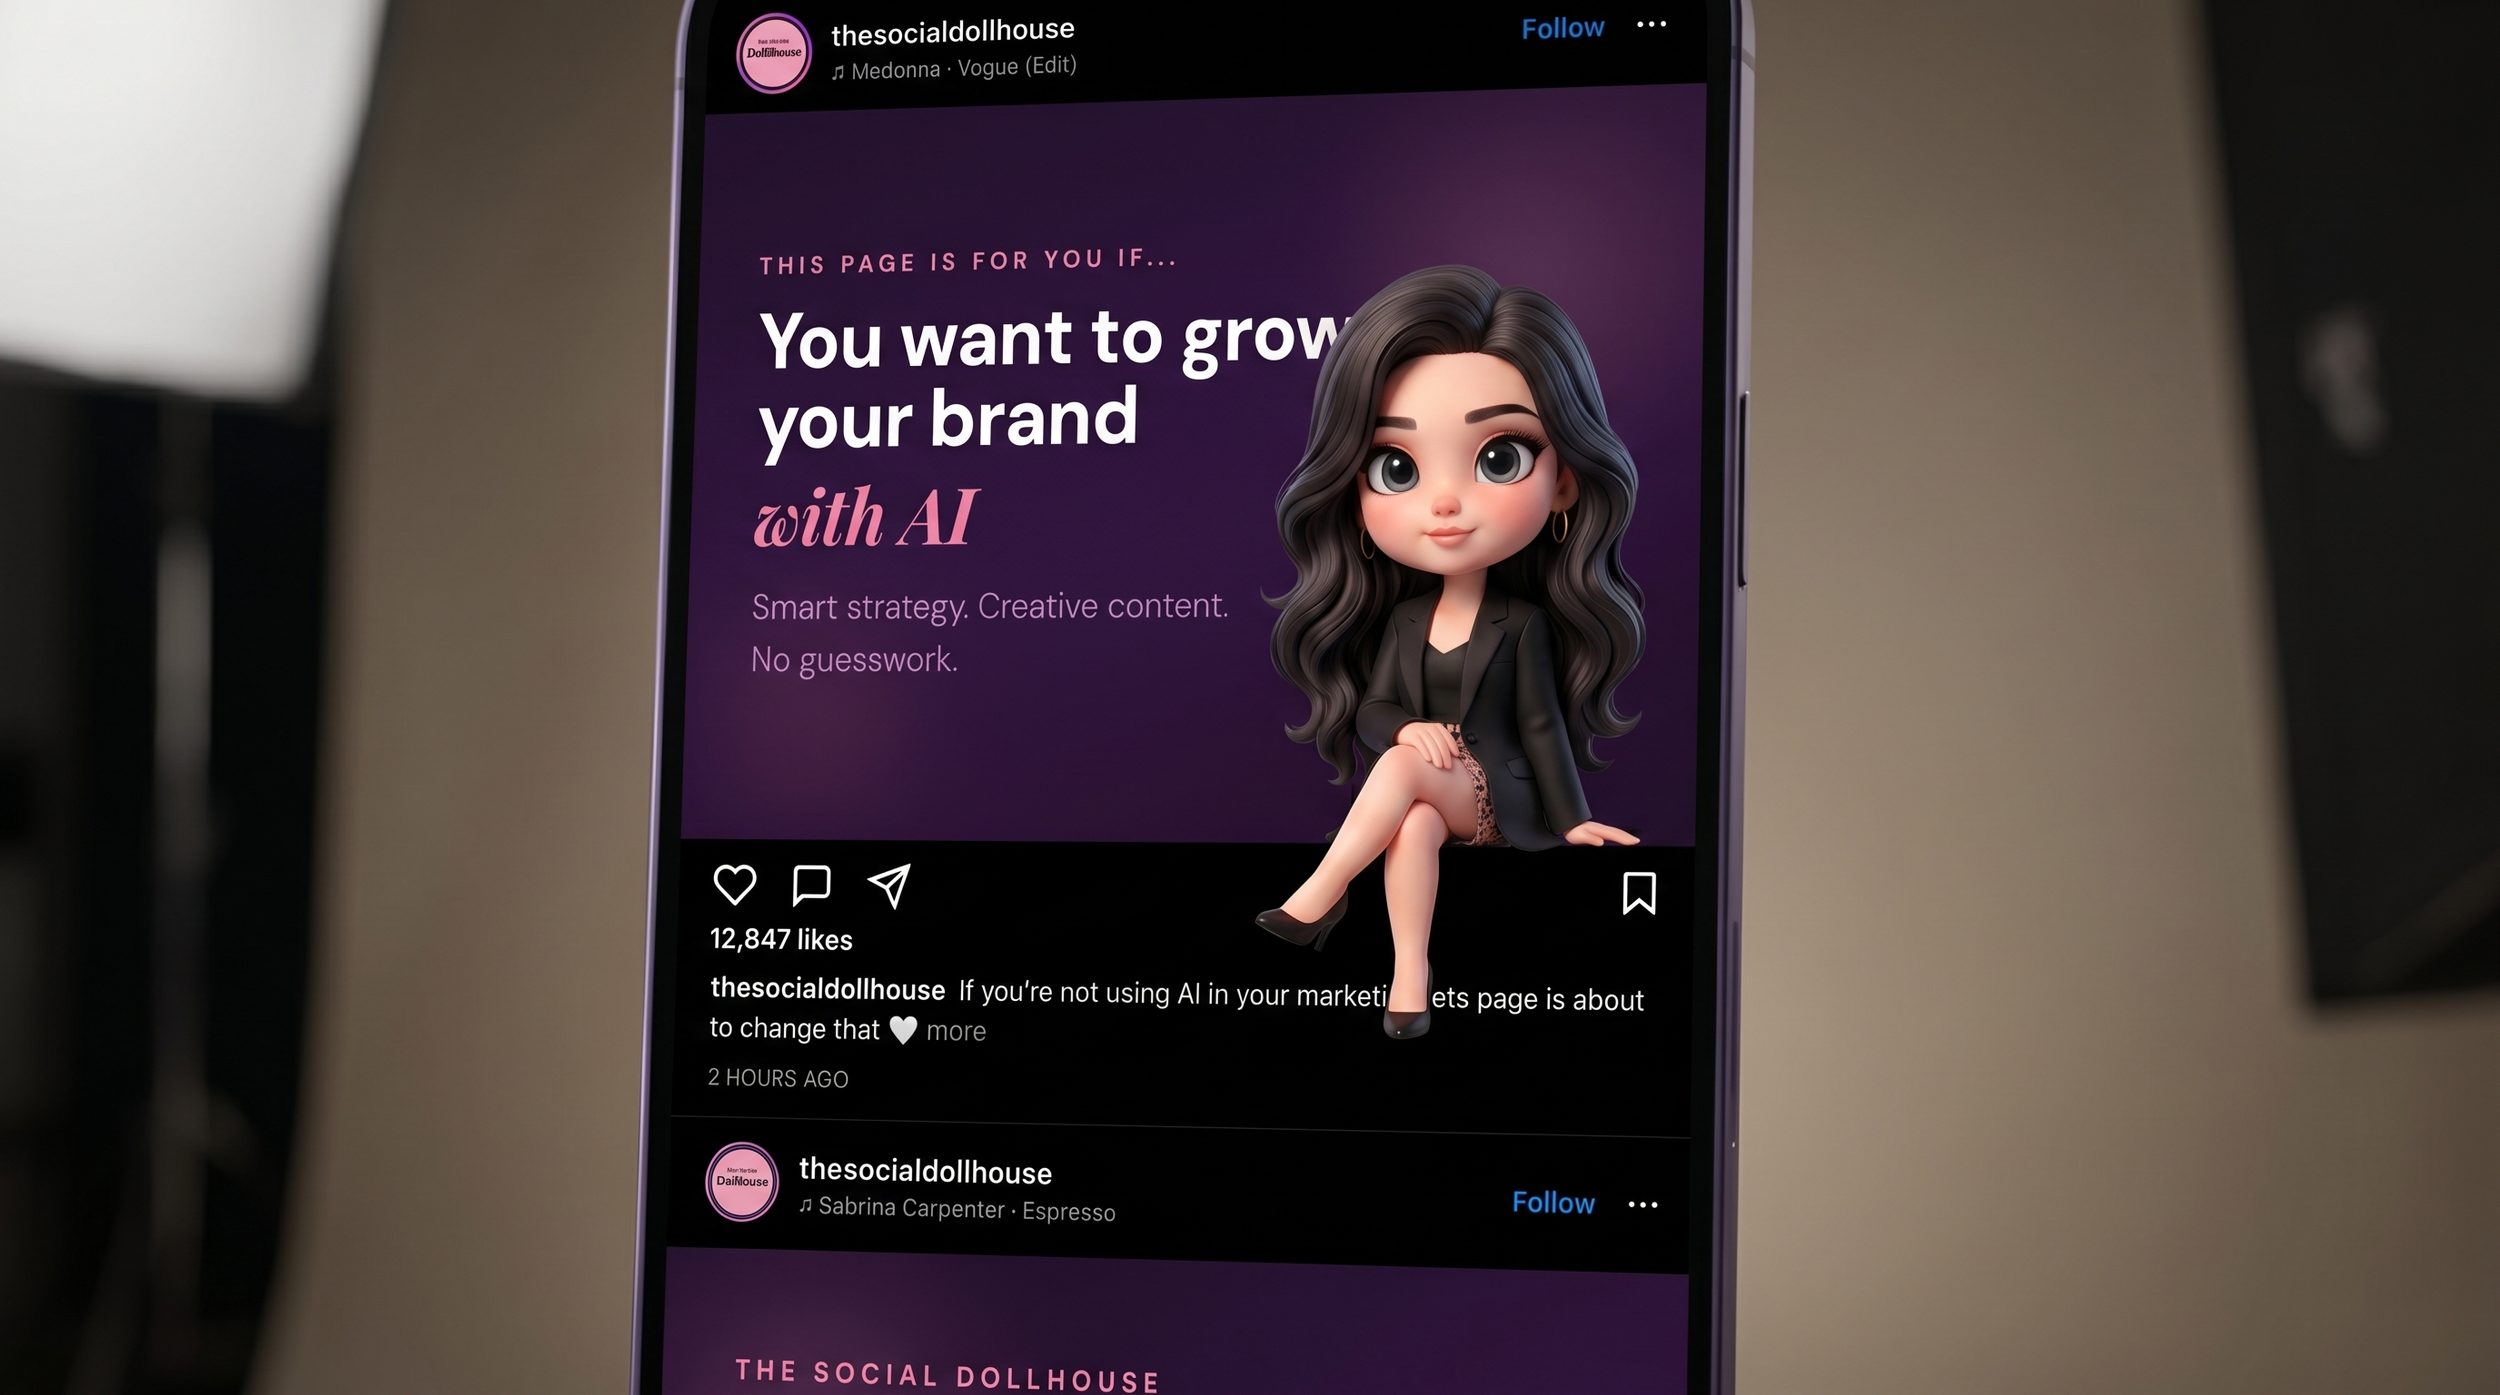
You've probably seen it. A character existing inside someone's Instagram feed like it's a physical world — sitting on the edge of a post, popping out of the frame, peeking over the top of a carousel, waving from inside a graphic. It's one of those formats that stops the scroll completely because your brain takes a second to compute what it's looking at.
The good news: you don't need a design degree, a video editor, or a production team to make it. You need three AI tools and about 30 minutes.
This is a step-by-step breakdown of how to create your own Instagram feed illusion Reel — the kind that loops perfectly and gets replayed because people want to figure out how you did it.
What the Effect Actually Is
The illusion works by treating your Instagram feed layout as a physical world your character actually inhabits.
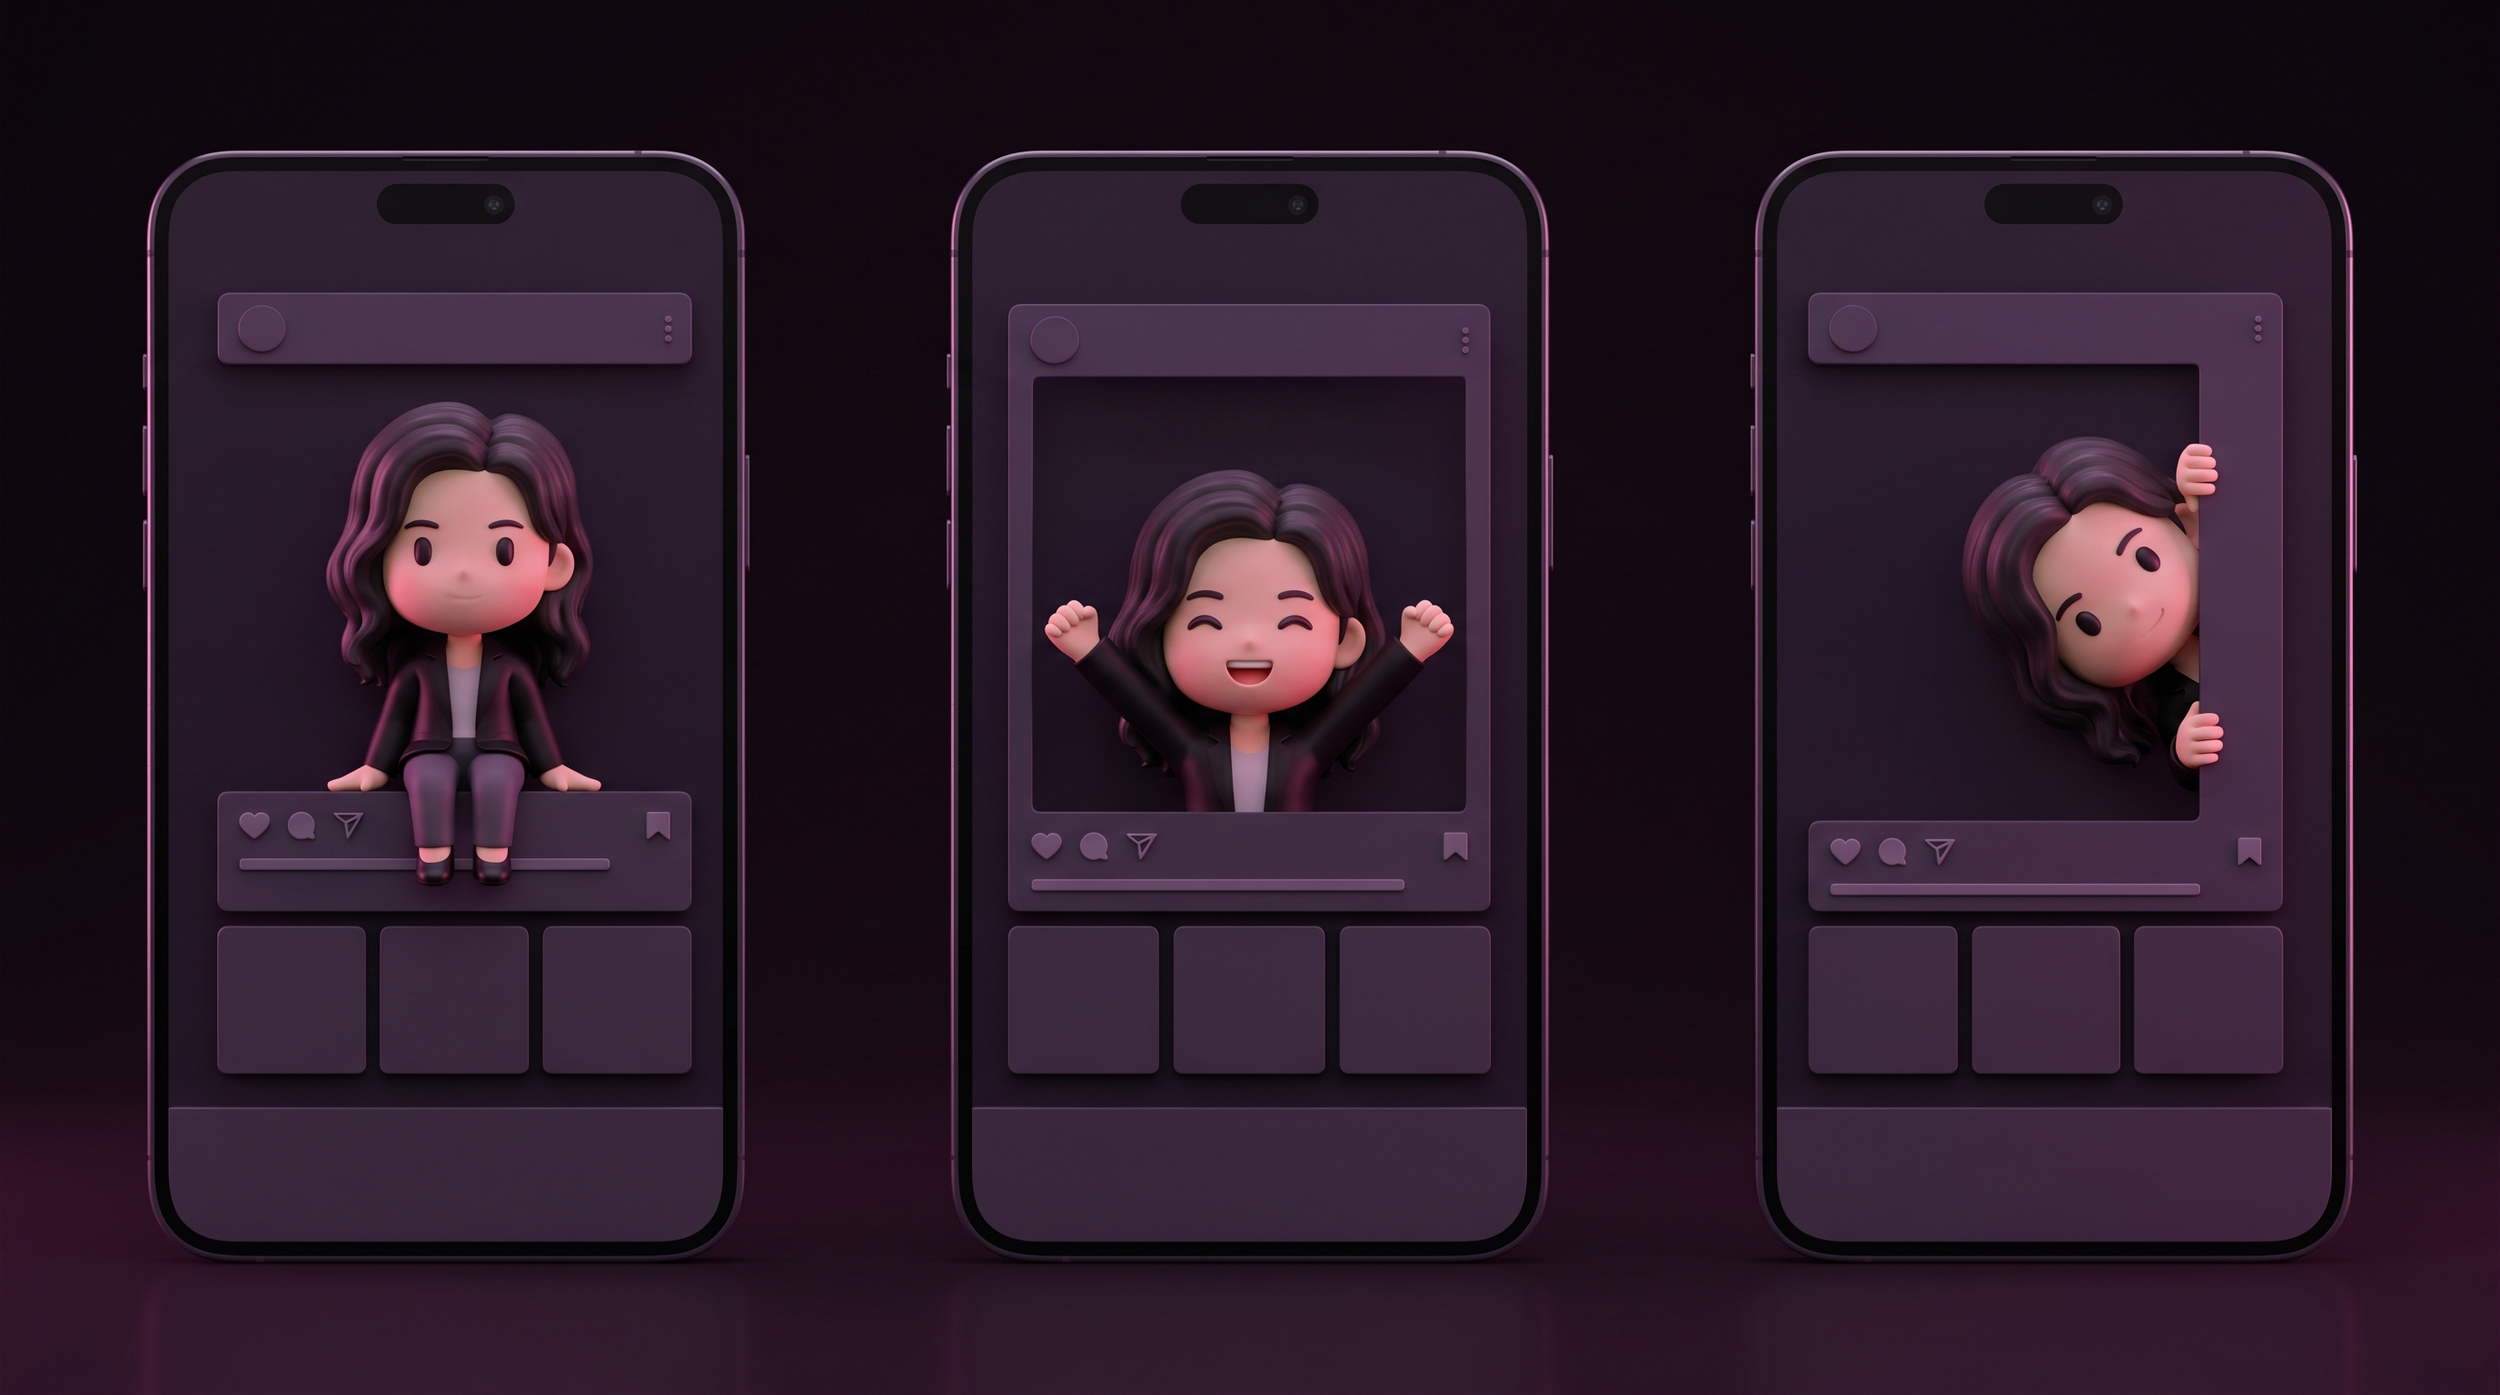
You take a screenshot or mockup of your posts — exactly how they'd appear on someone's feed — and place a 3D character somewhere inside that scene, interacting with it as if it's real. The character could be sitting on the boundary between two posts with their legs dangling below. They could be bursting through the top of a post, arms breaking out of the frame. They could be leaning against the edge of a carousel slide, looking bored. They could be crouching inside the post itself, peering out at the viewer.
The specific interaction is entirely up to you. What stays consistent across all versions is this: the feed is the set, the character is the actor, and the motion is small, contained, and loopable.
The video is just 4–6 seconds long. It plays on repeat. That's the whole mechanism.
What You'll Need
A mockup of your Instagram feed — one or two posts, depending on your concept
An AI image generator — we used Higgsfield's Nano Banana Pro model
An AI video generator — we used Seedance 2.0 (also inside Higgsfield)
A clear idea of what your character is doing and where they're placed
No video editing software. No Photoshop. Everything happens inside AI tools.
Step 1: Decide on Your Concept First
Before you touch any tool, decide on two things: where your character is and what they're doing.
This matters because it determines how you set up your background and how you write your prompts. A character sitting on the boundary between two posts needs both posts visible. A character popping out of the top of a single post only needs one. A character climbing the side of the frame needs the full height of a post visible.
Some concepts that work well:
Sitting on the engagement bar between two posts, legs dangling into the post below — the classic version
Bursting through the top edge of a post, upper body emerging out of the frame into blank space above
Peeking around the side of a post, half the character hidden, half visible — works great for a single post
Sitting inside the post itself, as if the graphic is a room they're chilling in
Climbing up the frame of the post, hands gripping the edge — then a loop of the climbing motion
Waving or gesturing directly at the viewer from a fixed position inside the scene
Pick one. Commit to it before you start generating. The clearer you are at this stage, the fewer credits you burn later.
Step 2: Create Your Instagram Feed Background
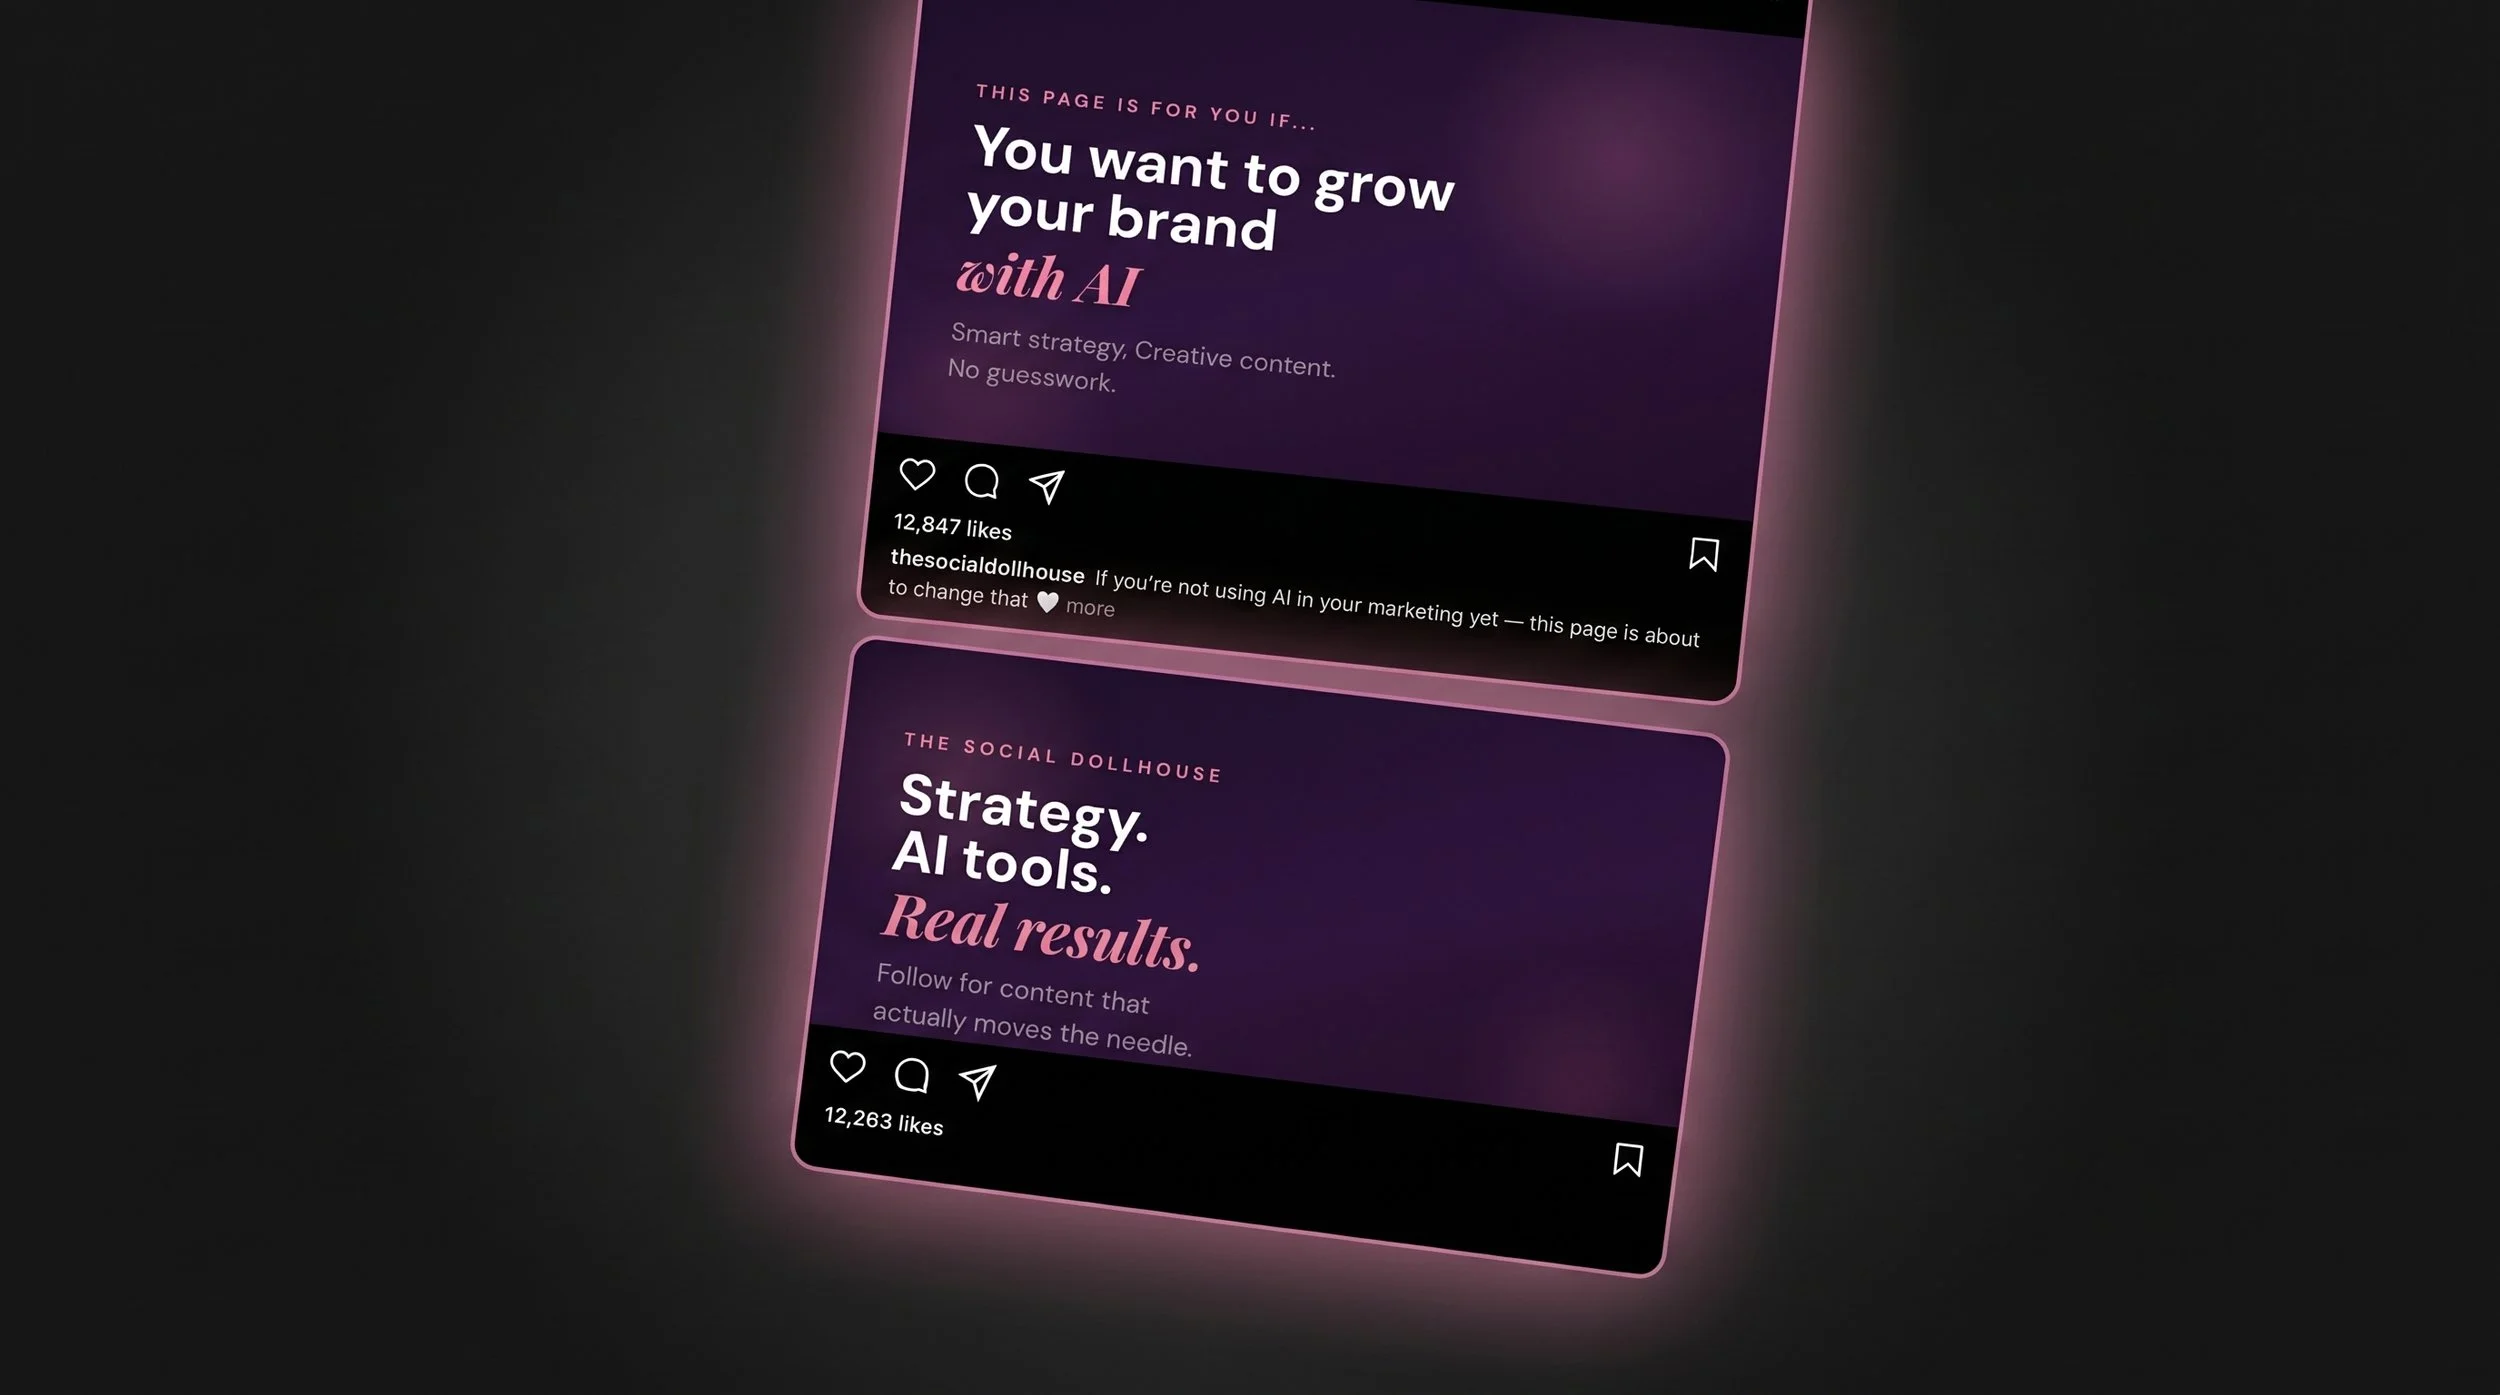
This is your set. You want a clean, high-resolution image of your posts exactly as they'd look on someone's feed — no phone chrome, no distractions, just the posts themselves.
You have three ways to get this:
Option A: Screenshot your actual feed. Pull up your Instagram profile on your phone and screenshot two posts with the engagement bar between them, then crop it tightly. Quickest option if your posts already look great.
Option B: Build a mockup in Canva. Design your posts in Canva using your actual content, then export them stacked as a single image. Gives you more control over layout, spacing, and which posts appear together.
Option C: Let AI generate the whole thing for you. This is what we did — and it's more powerful than it sounds. You can describe to Claude, ChatGPT, Gemini, or any AI tool exactly what you want your posts to look like: the colour scheme, the text, the aesthetic, the caption, all of it. The AI will generate a realistic-looking Instagram feed mockup from scratch.
If you go the AI route, there's one thing you need to provide: your real profile picture. Upload it alongside your prompt and ask the AI to use it as the account icon in the mockup — otherwise it'll generate a placeholder avatar and the illusion won't feel like your feed. Same goes for your actual username — include it in the prompt so it appears correctly on the posts.
A prompt to get you started:
"Create a realistic Instagram feed mockup showing two posts stacked vertically, exactly as they'd appear on someone's feed. Include the engagement bar between them with likes, comment, share, and save icons. Use the attached image as the profile picture. Username: @yourusername. First post: [describe your post — colours, text, layout]. Second post: [describe]. Make it look like a real screenshot, dark mode."
Adjust the description to match your brand. You can be as specific as you like — font style, background colour, the exact caption text, the like count, everything. The AI will handle the rest.
Export or screenshot the result as a PNG at the highest resolution you can. This image is the background of your entire video, so quality here matters.
One thing to think about regardless of which method you use: leave visual space for your character. If they're popping out of the top of a post, make sure there's breathing room above it. If they're sitting on the boundary between posts, make sure that line is clearly visible. Build the set around the scene you've already decided to create.
Step 3: Generate Your 3D Character in Position
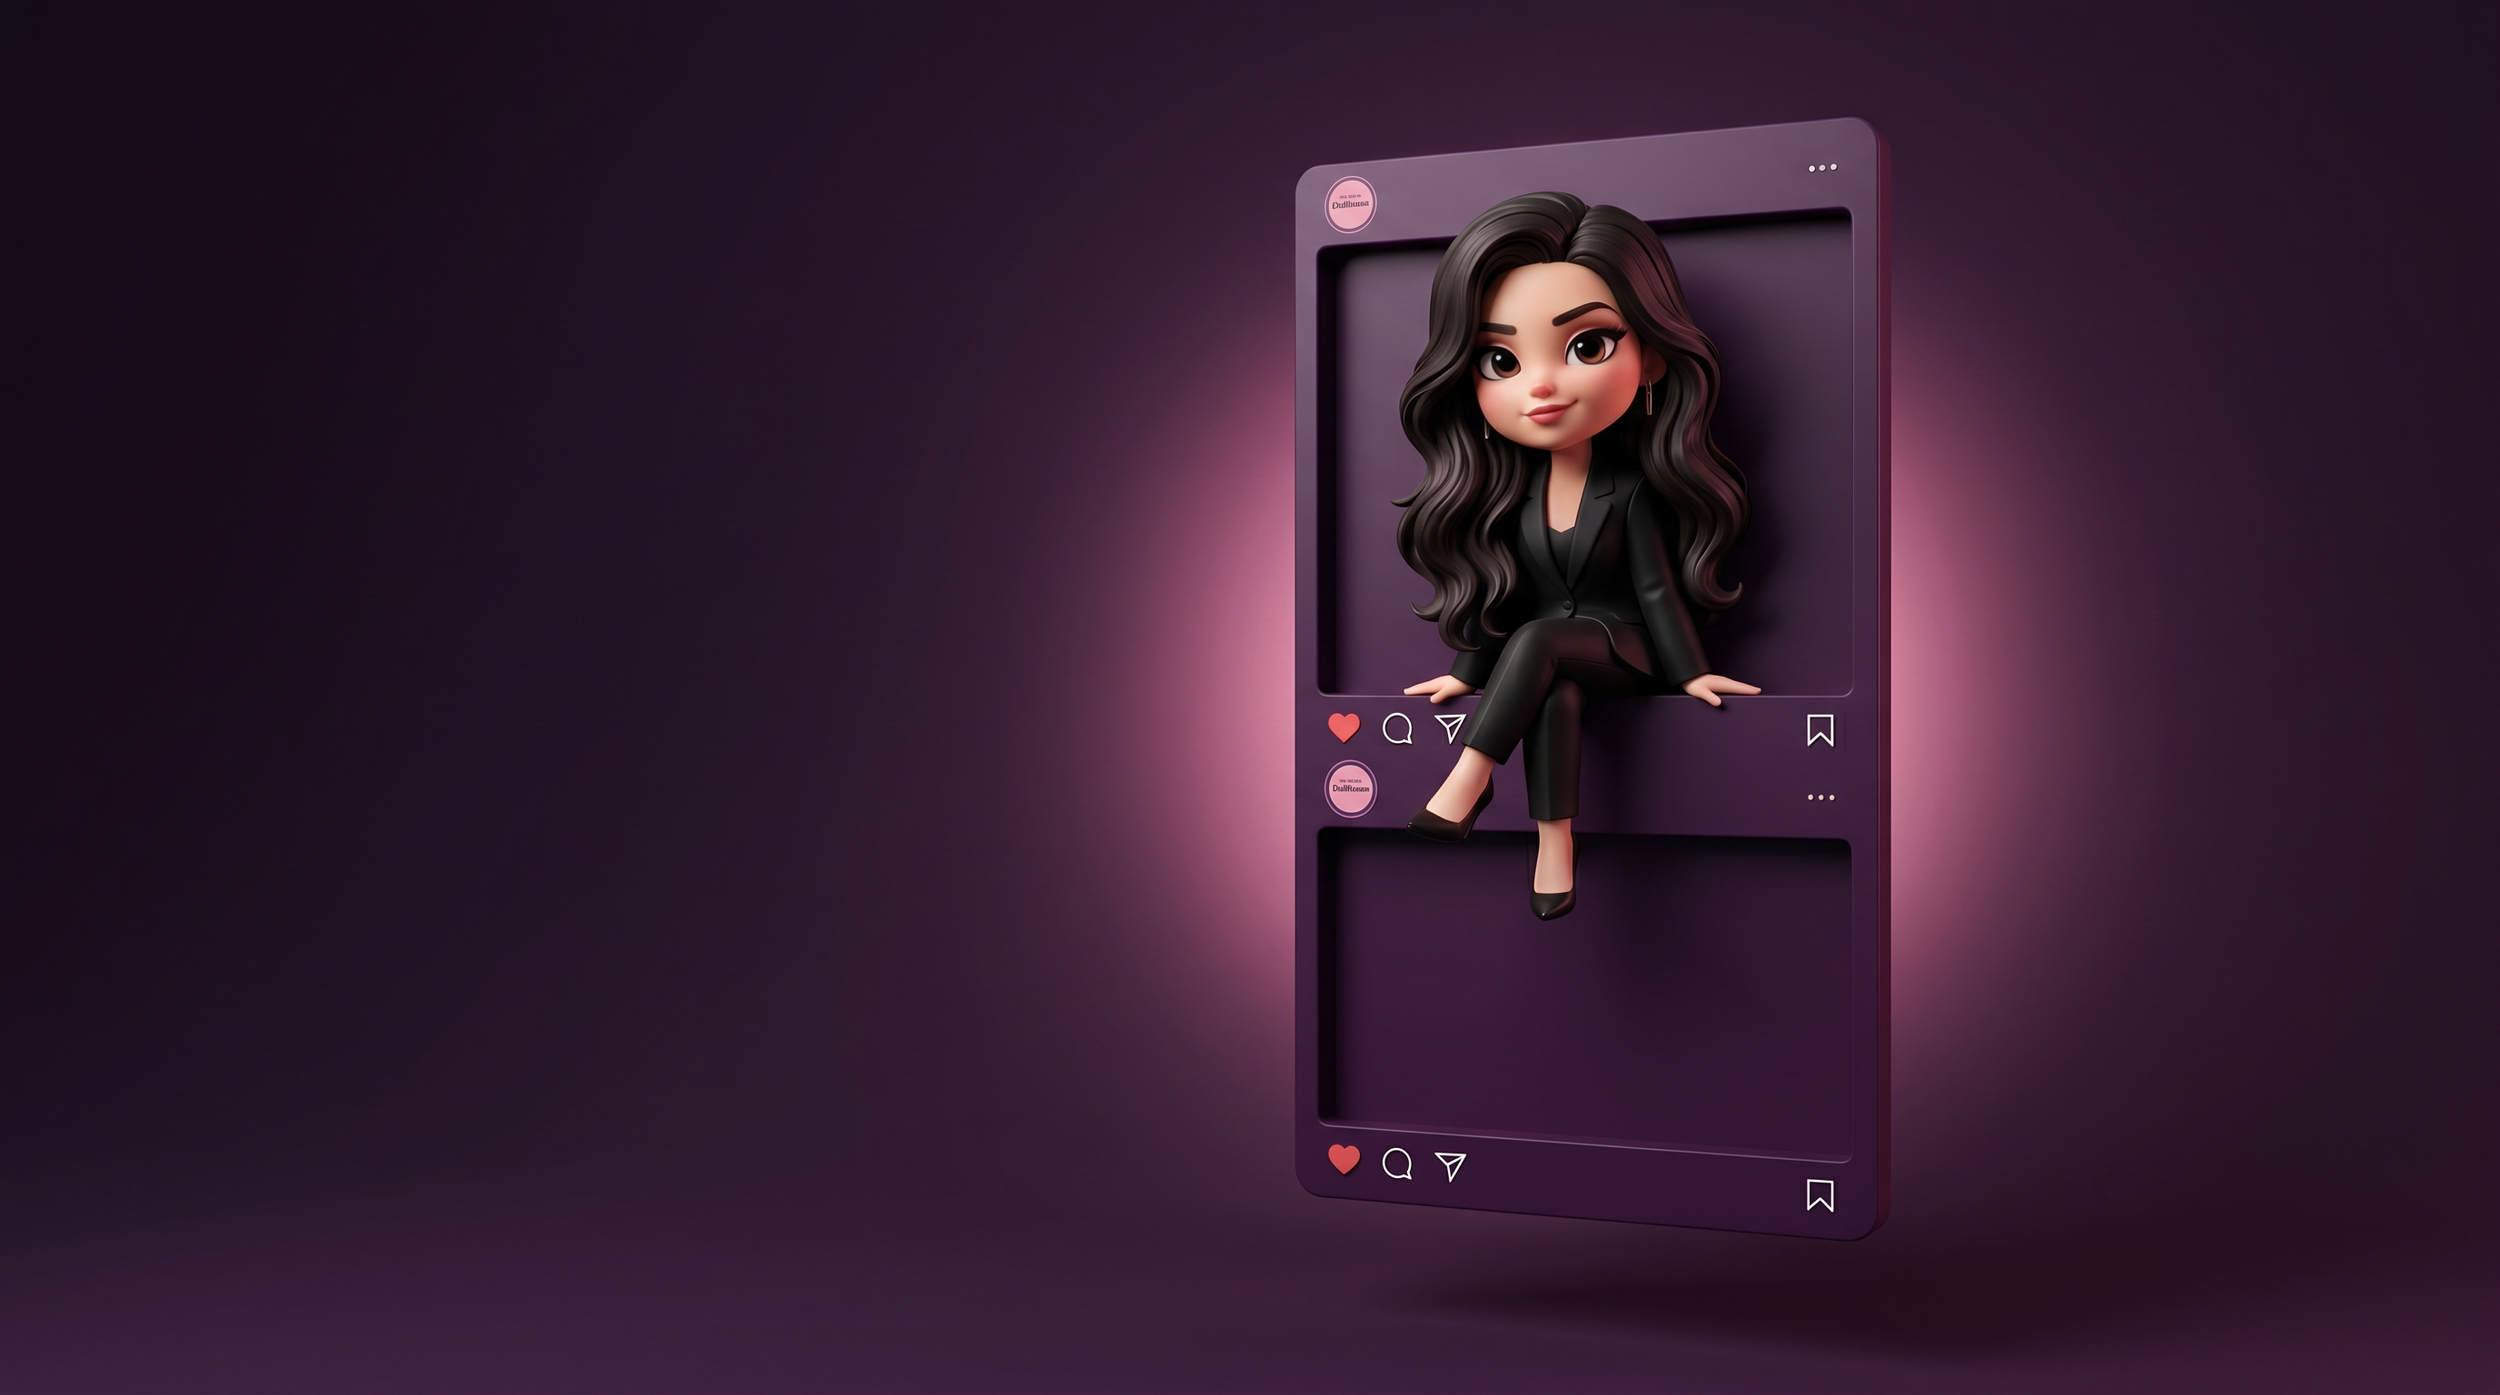
This is where AI does the heavy lifting. You're generating the full scene — character included — as a single still image. That image becomes the start frame of your video.
Upload your background to your AI image tool and write a prompt that covers:
Character style: Be specific. Ask for 3D volumetric, Pixar/Disney-style chibi proportions, rendered with depth and visible shadow. Include "NOT flat, NOT 2D cartoon" in your prompt — this matters because AI models default to flat illustration styles if you don't push them toward 3D.
Exact position and interaction: Describe precisely where they are and what they're doing in relation to the feed. "Sitting on the boundary line between the two posts, legs hanging below" is a different instruction than "bursting upward through the top edge of the first post, arms raised." The more specific, the better.
Size: Ask for the character to fill roughly 30–40% of the image width. You want them prominent, not decorative.
Background preservation: Always end your prompt with "background stays exactly as-is — do not change any text, colours, or layout." Otherwise the model will start reinterpreting your posts.
A few example prompts to illustrate how the positioning language changes based on concept:
Sitting on the edge:
"Add a 3D Pixar-style chibi character sitting on the horizontal engagement bar between the two posts. Upper body above the bar, legs hanging freely below. Large and prominent, slightly right of centre. 3D rendered with depth and shadow. Background unchanged."
Popping out of the frame:
"Add a 3D Pixar-style chibi character bursting upward through the top edge of the first post — her upper body and arms emerge above the post's frame, as if she's breaking out of it. She looks surprised and excited. Background unchanged."
Peeking around the side:
"Add a 3D Pixar-style chibi character peeking around the right edge of the post — half her face and body visible, one hand gripping the frame edge as she peeks at the viewer. Background unchanged."
The prompt structure is the same each time. Only the position and interaction description changes.
Check your result for two things: is the character in the right place relative to the posts, and does she look genuinely 3D? If the position is off, be more precise about vertical or horizontal placement. If she looks flat, add "Pixar render quality, cinematic lighting, visible depth" to the prompt and run again.
Once you're happy with the still image, save it. This is your start frame.
Step 4: Animate the Motion
Upload your still image to your video AI tool and set the duration to 4 seconds. This is where the illusion comes alive — but keep the motion small.
The golden rule for this format: the simpler the motion, the better the loop. Small, contained movements — a gentle swing, a wave, a slow look around — are easier for the AI to generate cleanly and loop seamlessly. Big dramatic movements create inconsistencies between the start and end frame, which breaks the loop.
Your motion prompt always has two parts:
Part one — freeze the background:
"The background is completely frozen. Do not move anything in the background — no camera movement, no zoom, no pan. The Instagram posts stay perfectly still."
Part two — describe only what moves: This is where your concept determines the prompt. A few examples:
For sitting/dangling:
"Only the character's legs and feet move — gently swinging back and forth in a slow rhythmic motion, like someone casually sitting on a ledge. Her upper body, head, and arms stay completely still. Soft, loopable motion."
For waving:
"Only the character's right hand and arm move — a slow, casual wave toward the camera. The rest of her body stays completely still. Loopable motion."
For peeking:
"The character slowly peeks further around the edge of the post, leaning her head slightly, then returns to the original position. A gentle, curious motion. Loopable."
For a subtle breathing/idle loop:
"The character has a subtle idle animation — a slight rise and fall of the chest, a small blink. No other movement. Extremely subtle and loopable."
Generate and check. Does the background stay still? Does the character do what you described? If the background is drifting or the character is doing something unexpected, re-run with slightly adjusted language. These models are responsive to rephrasing — if "frozen" isn't working, try "static", "completely still", "locked in place."
When you get a clean take, download the MP4.
Step 5: Post It
Upload as a Reel. 4–6 seconds is the sweet spot — short enough to loop automatically, long enough for the brain to register what it's seeing.
For the caption, resist the urge to explain it. The illusion works best when people discover it themselves. Let the comments fill up with people asking how you did it. That engagement is what you want.
A caption that works is usually just one dry, funny line:
"She lives here now.""Made a little friend for my feed.""This is fine."
What Makes This Format Actually Work

The reason this stops the scroll isn't the technical complexity — it's the cognitive disruption. Your brain is trained to read an Instagram feed in a specific way. This format breaks that pattern completely, and the disruption triggers a second look.
It also works because it's uniquely tied to your brand. A character on your posts, on your feed — it couldn't exist anywhere else. That specificity is harder to create than it sounds, and when you get it right, people feel it.
The process is the same regardless of what your character is doing. Background mockup → 3D character in position → contained loopable motion → download and post. Once you've done it once, the second version takes half the time.
AI has closed the gap between "I have this idea" and "I can actually make this." The creators who understand that early are the ones building audiences right now with content that looks like it took a team to produce.
But a scroll-stopping video is only half the equation. The caption, the hook, the script, the structure — that's what converts attention into followers, and followers into customers.
If you want a complete system for creating Instagram content that actually performs — Reel scripts, carousel frameworks, caption structures, and hooks built around AI — that's exactly what The Content Vault is. 120 prompts across four content frameworks, designed to take your Instagram from inconsistent to intentional.
Start with the illusion. Then build the strategy around it.
Ready to make every piece of content work as hard as this one?